Prerequisites
Create an Mailchimp account.
Set up App connection
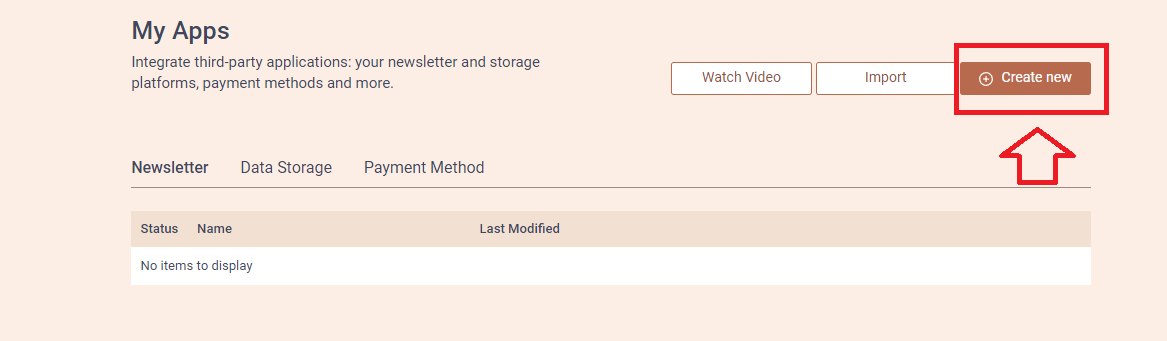
1. Login to your Bodygraph Chart account and open My Apps section.

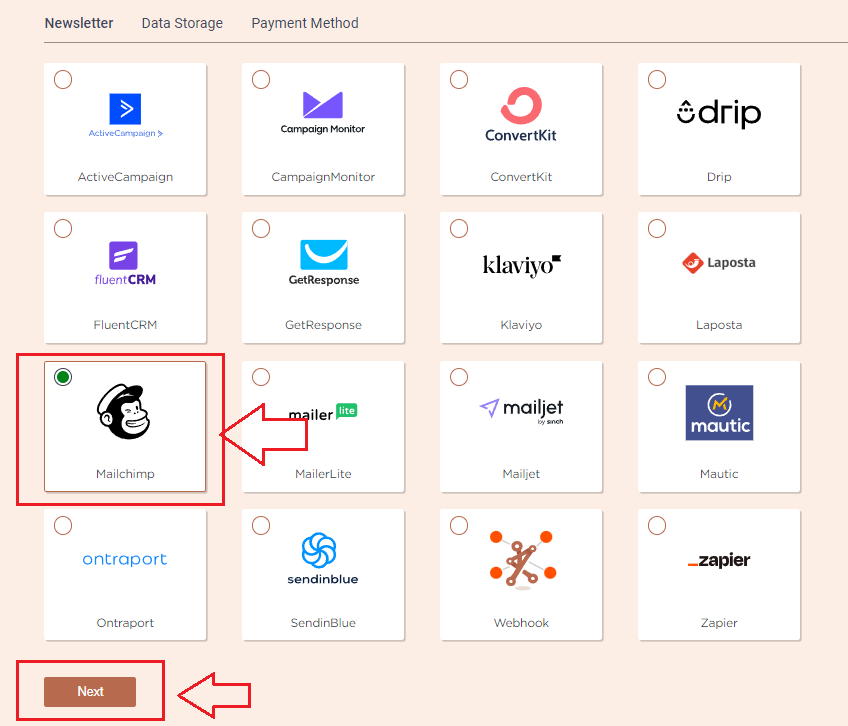
2. Press ‘Create new’ button and select MailChimp app from the following options, then click ‘Next’.
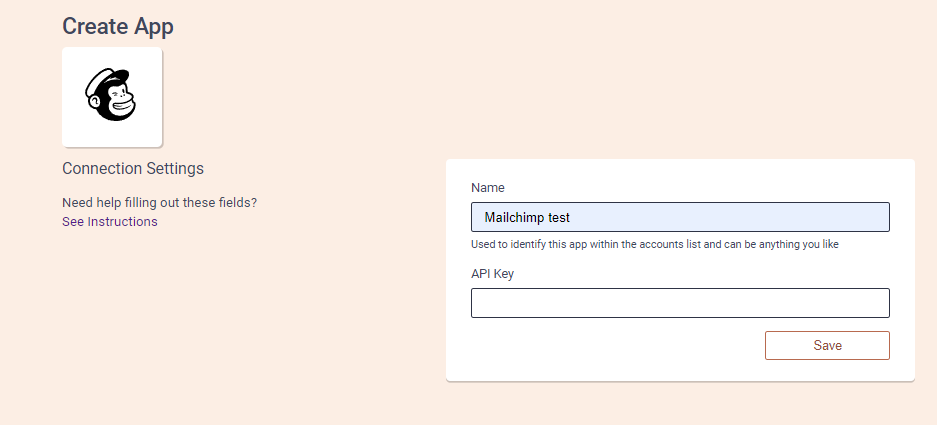
3. Add the Name (it can be anything you like) and head to the new tab to get to your Mailchimp account and collect API Key.
4. On the new tab open your Mailchimp dashboard and then click on the profile icon at the top right corner. Select ‘Accounts & Billing’ from the following options.
![]()
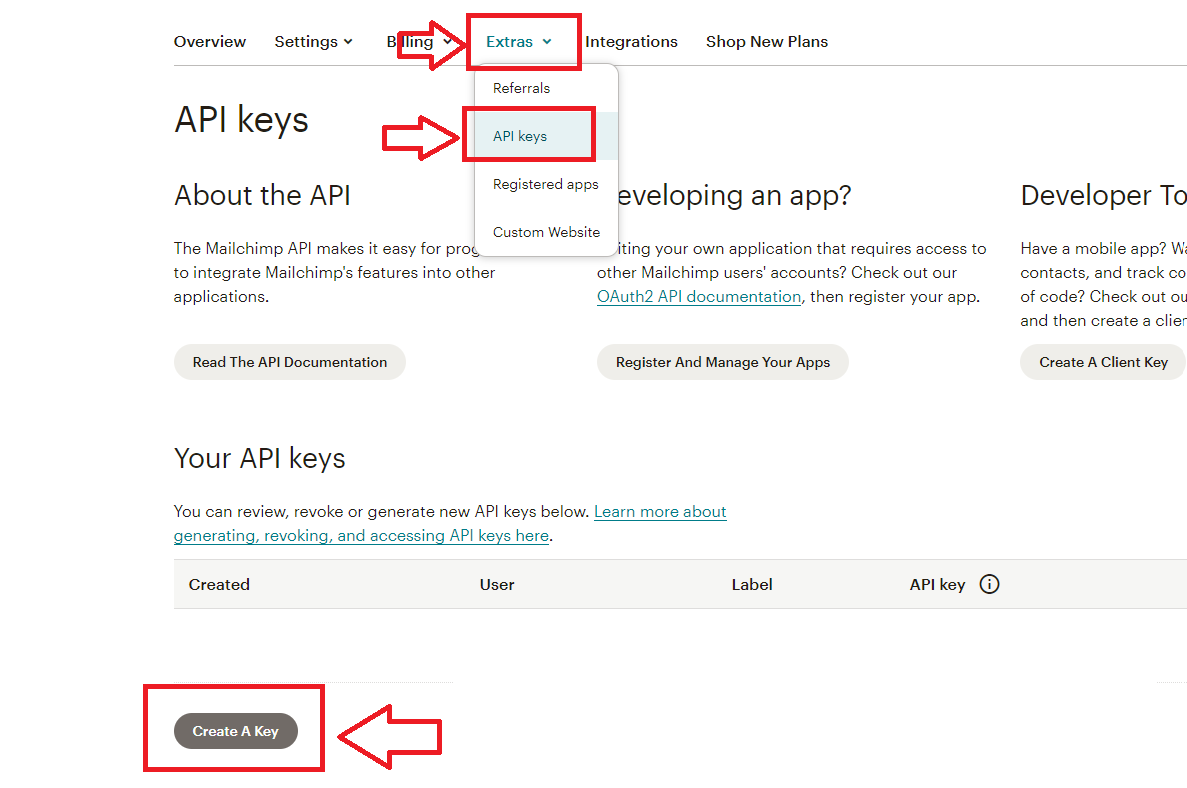
5. Select ‘Extras’, then ‘API Keys’ and click ‘Create a Key’ button to generate API Key.
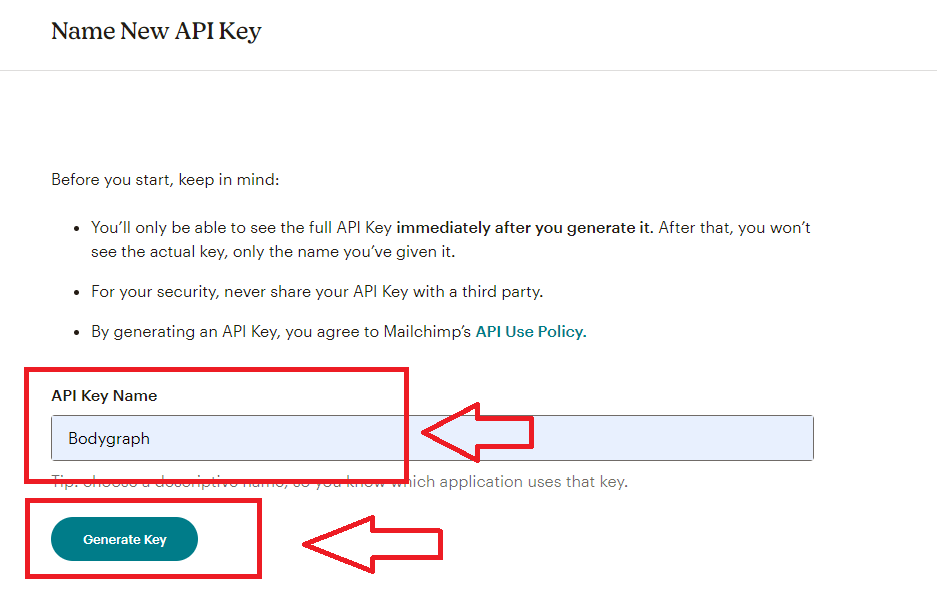
6. Give the name to the Key and press ‘Generate Key’ button. Then copy the Key and go back to Bodygraph Chart account.

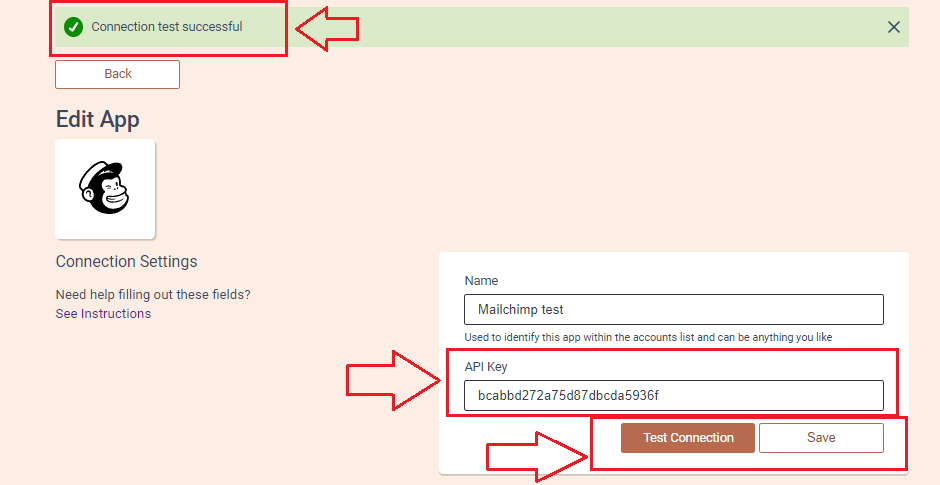
7. Paste the API Key and click ‘Save’ button. Then press ‘Test Connection’ button and see if the green indicator says ‘Connection test successful’.
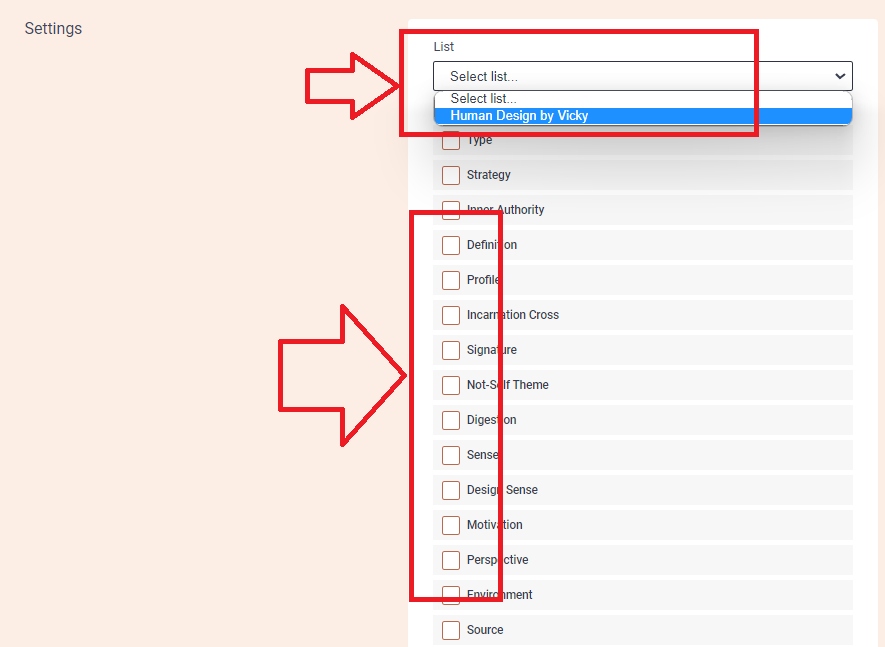
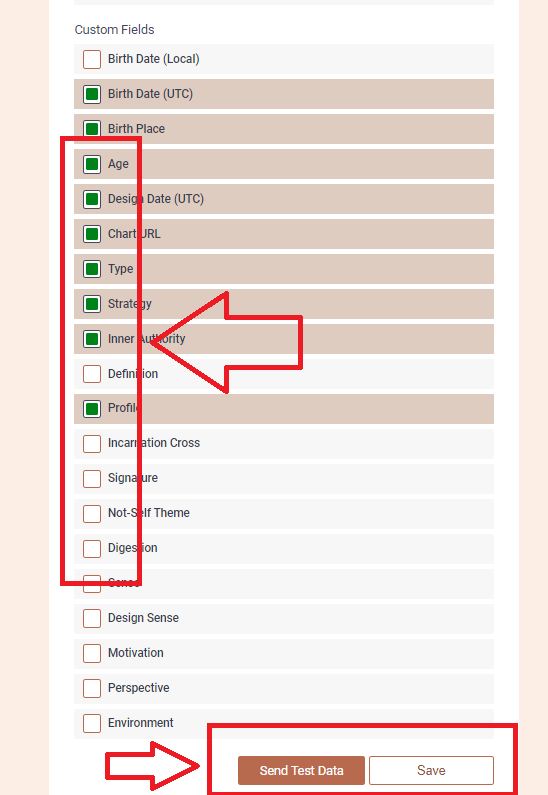
8. Then select the list which will be your Mailchimp account name, tags and custom fields that you want to be collected and sent over to Mailchimp account. Then click ‘Save’ and ‘Send test data’.
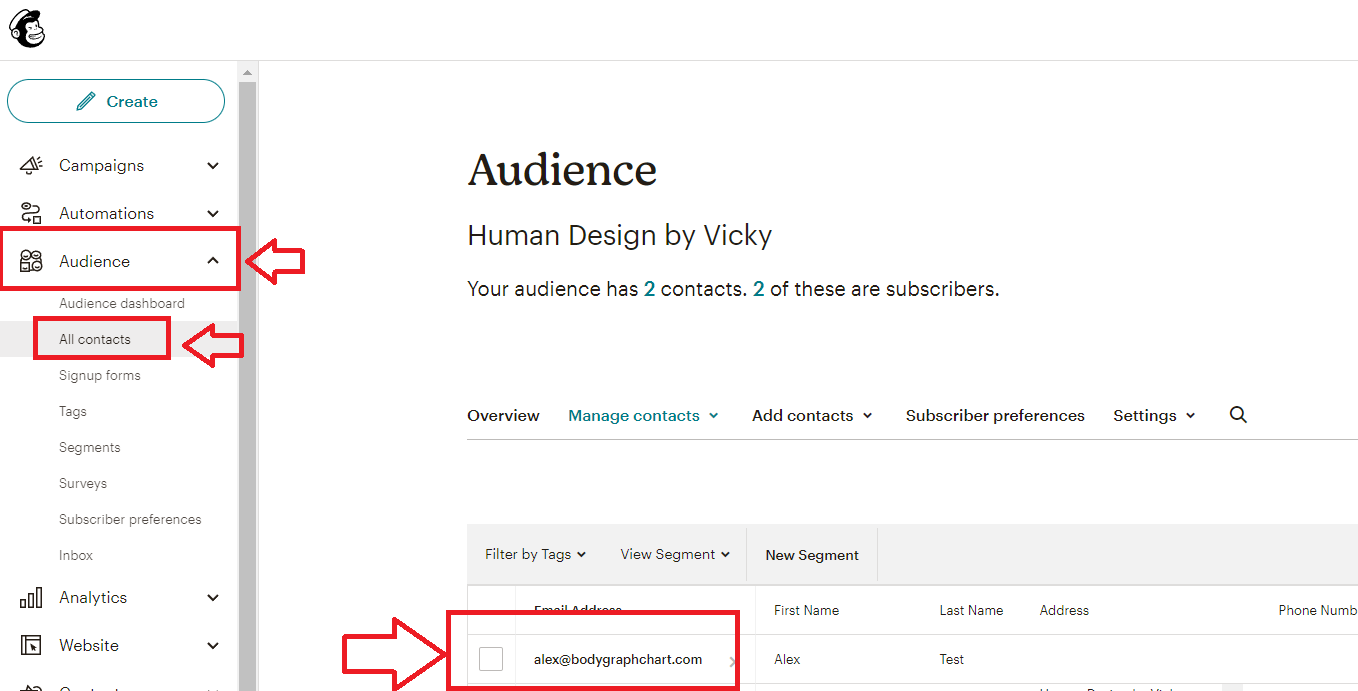
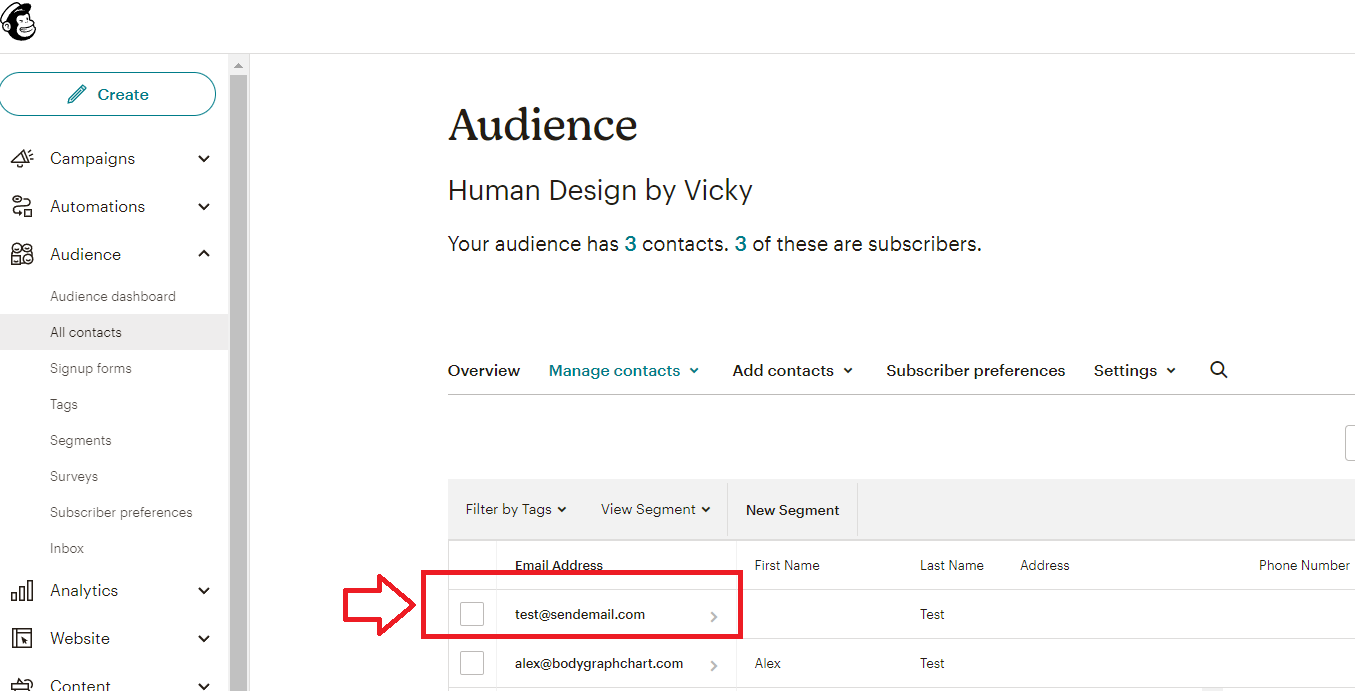
9. Go back to your Mailchimp dashboard and select ‘Audience’ from the menu on the left. Then select ‘All contacts’ and you will be able to find test data sent from Alex account.
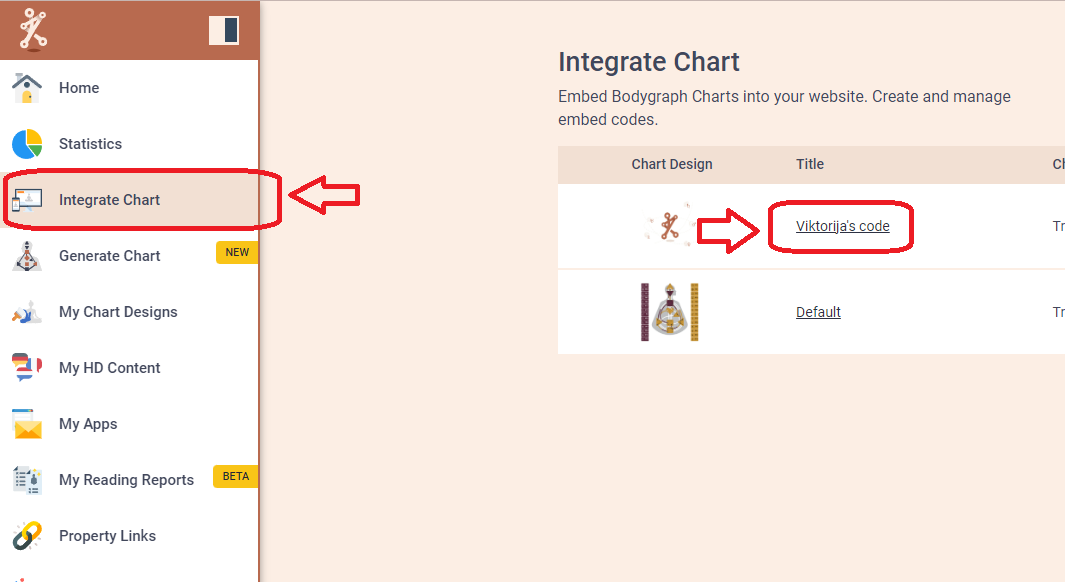
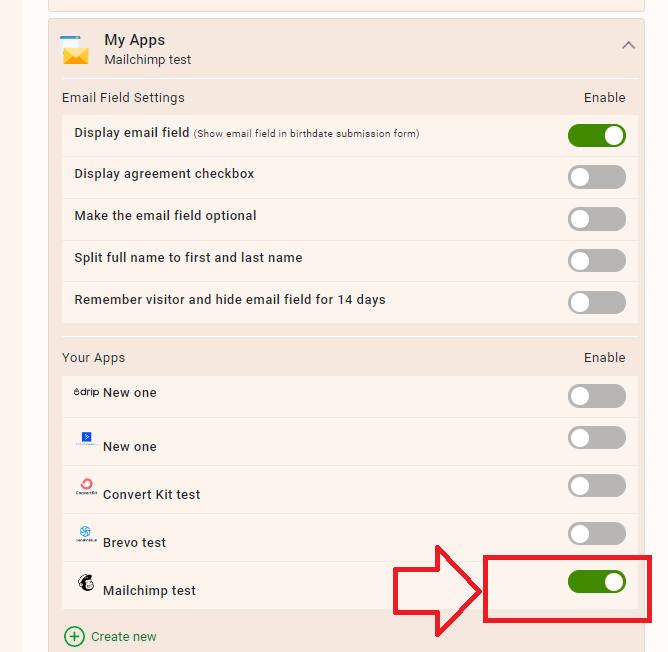
10. Go back to Bodygraph Chart account, then to Integrate chart, select the embed code that you are using/will use on your website and enable Mailchimp app at My Apps section, click ‘Save Changes’.
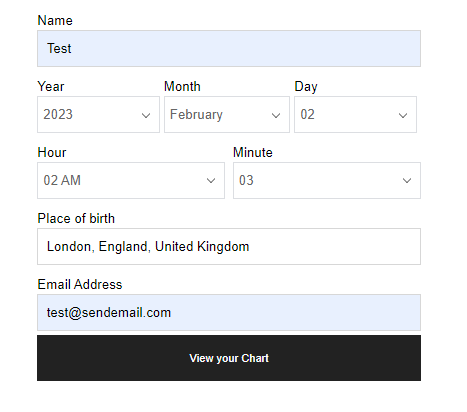
11. Final step is to test if the connection works successfully. Go to your website or Preview mode and submit the form to generate chart. Then go back to Mailchimp contacts dashboard (refresh the page) to see if the data was collected successfully. All done!
Still have questions? Please message us on Live Chat or send an email to [email protected].
You can also check a quick video tutorial here: